
How to Plan a Whole-Home Exterior Refresh
A home’s exterior is a connected system, not a collection of separate surfaces. Roofing directs water toward gutters; gutters move water away from the foundation; siding and flashing protect wall assemblies; and doors and windows influence both comfort and weather resistance. Working with a contractor that provides exterior remodeling built on trust can help homeowners organize these connected decisions into a clear, practical plan.
A whole-home refresh does not mean every exterior feature must be replaced at once. It means identifying what needs immediate attention, what can be grouped into one phase, and what can wait without creating repeat labor or causing new damage. For example, installing new siding before addressing failing window flashing may require portions of the new work to be removed later.
Step 1: Inspect the Entire Exterior
Start with a walk-around inspection in dry weather, then look again after a substantial rain. Take photos from every side of the house and note where conditions are worsening. A written record makes it easier to compare contractor recommendations and decide which work is urgent.
Areas to Check
- Roof coverings, flashing, vents, roof edges, moss, algae, and missing materials.
- Siding, trim, fascia, soffits, corner boards, peeling paint, cracks, and soft wood.
- Windows and doors that stick, draft, show fogging between panes, or have deteriorated frames.
- Gutters, downspouts, splash blocks, standing water, soil erosion, and foundation staining.
- Deck boards, stairs, railings, support posts, footings, and loose connections.
- Walkways, patios, retaining walls, exterior lighting, and uneven entry surfaces.
Step 2: Separate Repairs From Cosmetic Updates
Fresh paint, decorative trim, and new cladding can improve curb appeal, but they should never conceal active moisture problems or unsafe conditions. Prioritize work according to the risk of water damage, structural deterioration, and injury.
- Correct active leaks, poor drainage, and water that collects near the foundation.
- Repair damaged sheathing, rotted framing, loose masonry, or deteriorated structural components.
- Address unsafe stairs, railings, deck components, walkways, and entry areas.
- Improve failed flashing, drafty openings, damaged doors, and inefficient windows where appropriate.
- Complete siding, trim, paint, lighting, landscaping, and other visual upgrades.
Step 3: Decide Which Projects Belong Together
Combining related work can reduce duplicated labor and help prevent finished surfaces from being disturbed later. It also gives homeowners a chance to make design decisions once, rather than revisiting colors, trim profiles, and drainage details across multiple projects.
Smart Project Combinations
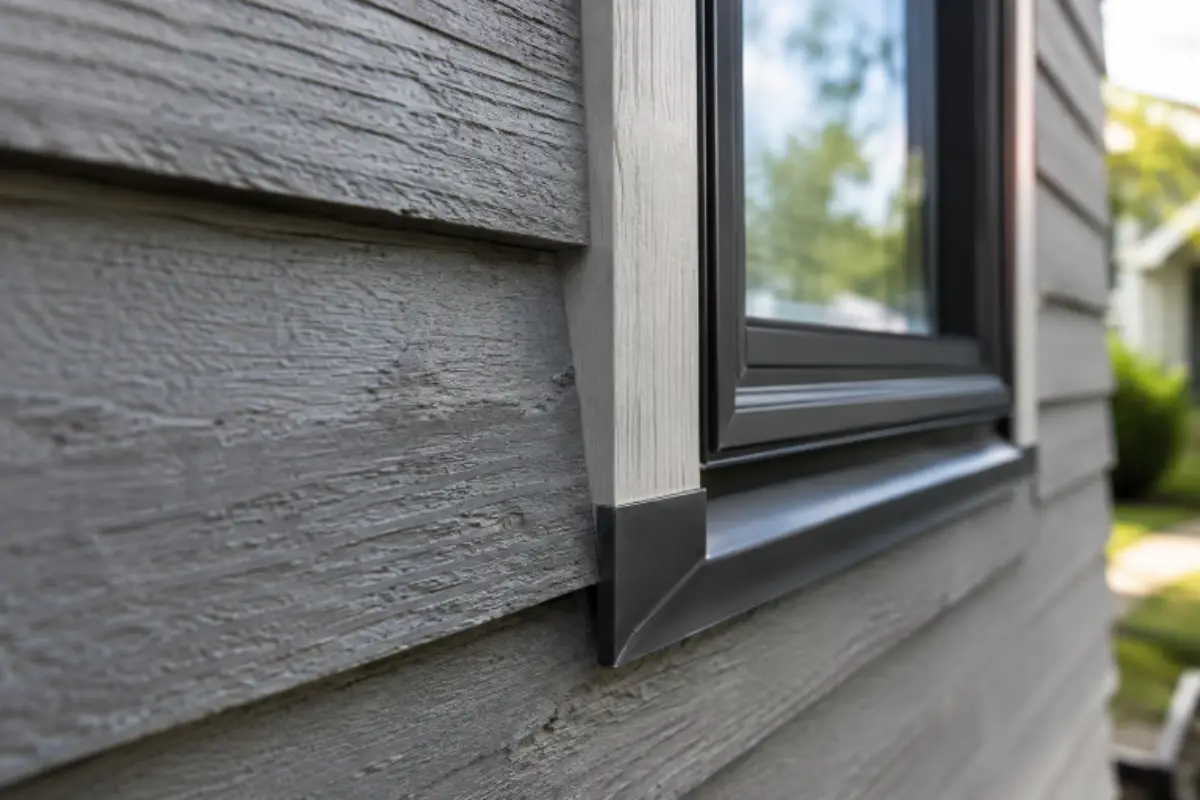
- Siding and windows: Coordinate weather-resistive barriers, flashing, trim, insulation access, and exterior colors.
- Roofing and gutters: Review roof-edge details, fascia condition, downspout locations, and water discharge together.
- Doors and entry areas: Pair a replacement door with weatherstripping, trim, lighting, steps, railings, and hardware.
- Decks and patios: Plan surface materials, stairs, drainage, shade, seating, and lighting as one outdoor living area.
Step 4: Compare Materials by Performance, Not Just Appearance
Choose exterior materials according to the home’s climate, sun exposure, maintenance preferences, and architectural style. A material that looks attractive on a sample board may not be the best fit for a shaded, wet wall or a location with frequent freeze-thaw cycles.
- Ask how the product handles rain, wind, snow, heat, humidity, and temperature changes.
- Confirm how often it needs cleaning, painting, sealing, staining, or other maintenance.
- Find out whether isolated damage can be repaired without replacing a large section.
- Review the manufacturer’s installation instructions and warranty conditions.
- Compare colors and textures against the roof, masonry, landscaping, and fixed features of the home.
Step 5: Include Energy Performance in the Plan
Exterior work can improve comfort as well as appearance. New windows, doors, siding work, and trim repairs may create opportunities to correct air leaks and improve insulation details. When comparing products, review window and door performance ratings for climate-appropriate U-factor and solar heat gain considerations. ENERGY STAR notes that certified windows, doors, and skylights meet climate-zone criteria, and that replacing single-pane windows with certified windows can lower household heating and cooling costs by up to 13 percent nationwide.
Questions to Ask About Energy Upgrades
- Are windows drafty, difficult to operate, fogged between panes, or damaged around the frame?
- Are there visible gaps around doors, windows, vents, trim, or utility penetrations?
- Will siding work provide practical access for air sealing or insulation improvements?
- Will the installer explain product ratings, flashing details, and how openings will be sealed?
Step 6: Build a Realistic Budget and Sequence
A useful budget covers more than material costs, including inspections, design, demolition, disposal, permits, labor, equipment, site protection, cleanup, and repairs after removing old materials. Add a contingency based on the home’s age, moisture history, and demolition extent, not a fixed percentage. Start with inspection, fix urgent leaks and unsafe areas, finalize design and permits, then complete roof, drainage, windows, doors, flashing, siding, and trim. Decks, patios, railings, lighting, landscaping, and final paint usually follow major weatherproofing.
Step 7: Plan for Weather, Safety, and Contractor Communication
Ask how the crew will protect open walls, roof areas, landscaping, windows, walkways, and stored materials if rain or wind interrupts the schedule. Confirm who will supervise the work, how debris will be removed, and how change orders will be approved before additional work begins.
For homes built before 1978, exterior scraping, demolition, window replacement, and paint preparation deserve added attention. The lead renovation and repair requirements explain that paid contractors disturbing painted surfaces in many pre-1978 homes must follow lead-safe certification and work-practice rules.
Final Checklist for a Successful Exterior Refresh
- Inspect the full exterior and document current conditions with notes and photos.
- Rank problems by water risk, safety, comfort, and potential for future damage.
- Group connected projects where doing so prevents duplicate labor.
- Compare materials by durability, maintenance, repairability, and local weather conditions.
- Include energy performance, air sealing, flashing, and drainage in the scope.
- Confirm permits, insurance, warranties, cleanup responsibilities, and payment milestones.
- Approve a detailed written scope before construction begins.
Conclusion
A successful exterior refresh starts with careful planning rather than a color selection. A full inspection reveals which issues require immediate attention, while a clear project sequence reduces repeat work and protects the investment in new materials. With durable product choices, a realistic budget, and a detailed written scope, homeowners can improve curb appeal, comfort, weather protection, and long-term maintenance needs in one coordinated plan.